
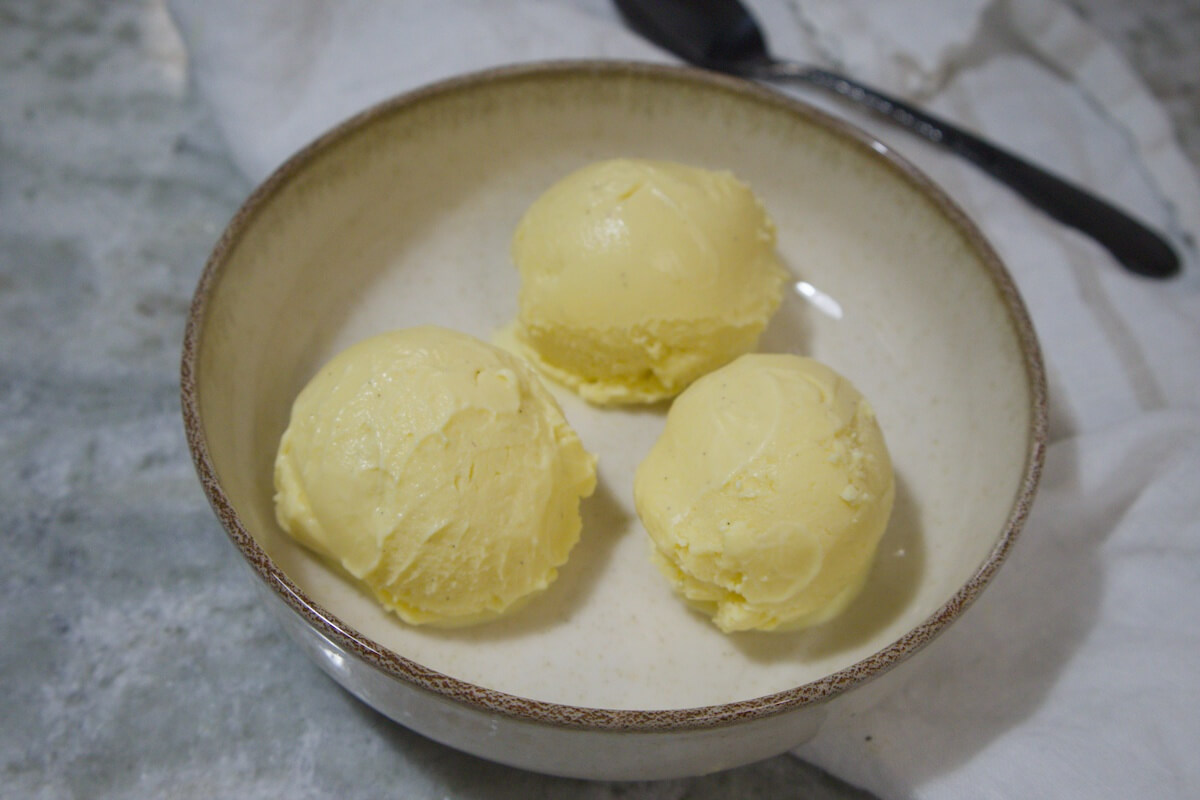
Vanilla Ice Cream
Vanilla Ice Cream
This vanilla ice cream is rich, creamy, and packed with real vanilla flavor. I make it using an ice cream maker, but if you don't have one, I'll leave you a link with my tips for making homemade ice cream without an ice cream maker.
Ingredients
- 1 cup 2% milk
- 1 cup 35% heavy cream
- 1 vanilla bean, split lengthwise
- 6 egg yolks
- ½ cup granulated sugar
Instructions
- In a saucepan, combine the milk, heavy cream, and the split vanilla bean. Bring the mixture to a gentle boil over medium heat.
- Remove the saucepan from the heat and let it steep for 10 minutes.
- Meanwhile, whisk the egg yolks and granulated sugar together for 2 to 3 minutes, or until the mixture becomes pale and creamy.
- Remove the vanilla bean from the milk mixture, then gradually whisk the warm milk and cream into the egg mixture.
- Wash the saucepan, return the mixture to the clean saucepan, and cook over low heat, stirring constantly, until the custard thickens enough to coat the back of a spoon, about 5 to 10 minutes. Do not let it boil.
- Strain the custard through a fine-mesh sieve to remove any lumps.
- Refrigerate for at least 12 hours, or until completely chilled.
- Freeze the bowl of your ice cream maker for at least 12 hours. Then, following the manufacturer's instructions, churn the chilled custard in the ice cream maker for about 20 minutes, or until it reaches a soft-serve consistency.
- Transfer the ice cream to an airtight container and freeze until firm. Serve and enjoy!
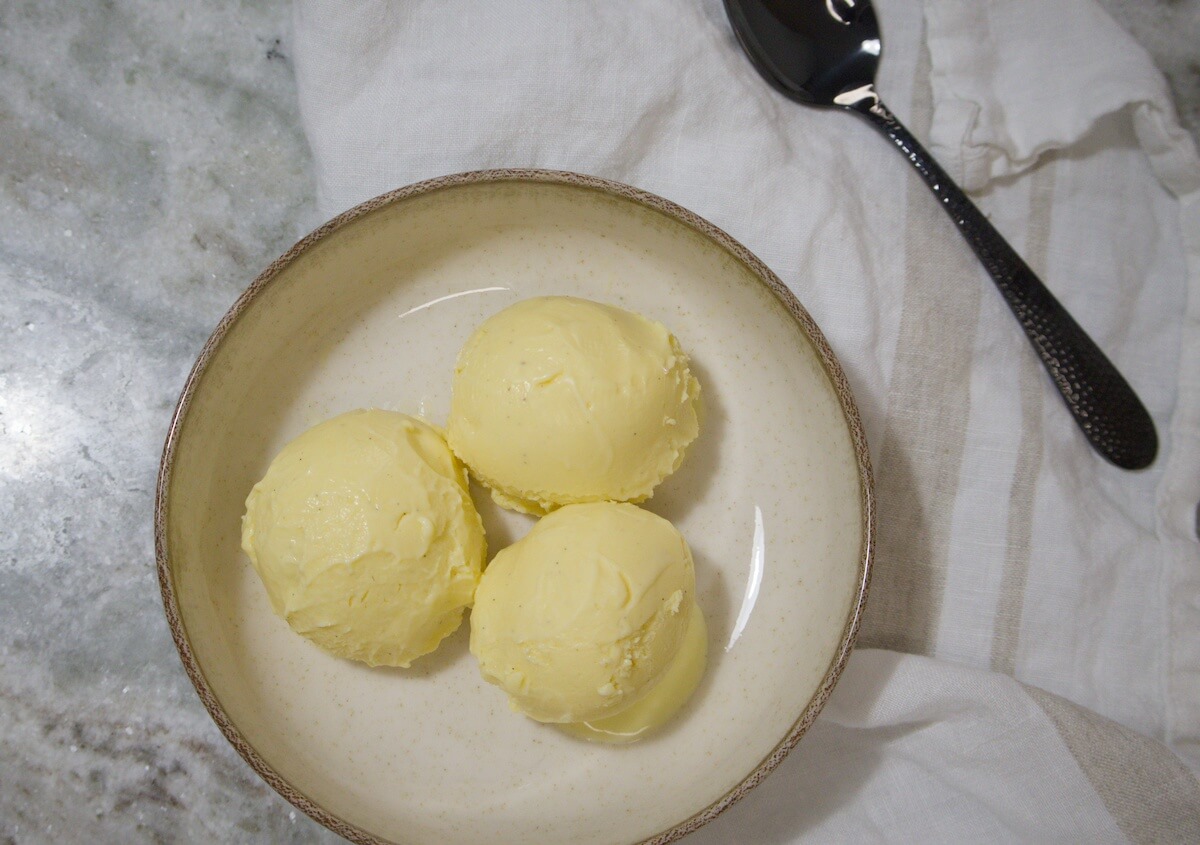
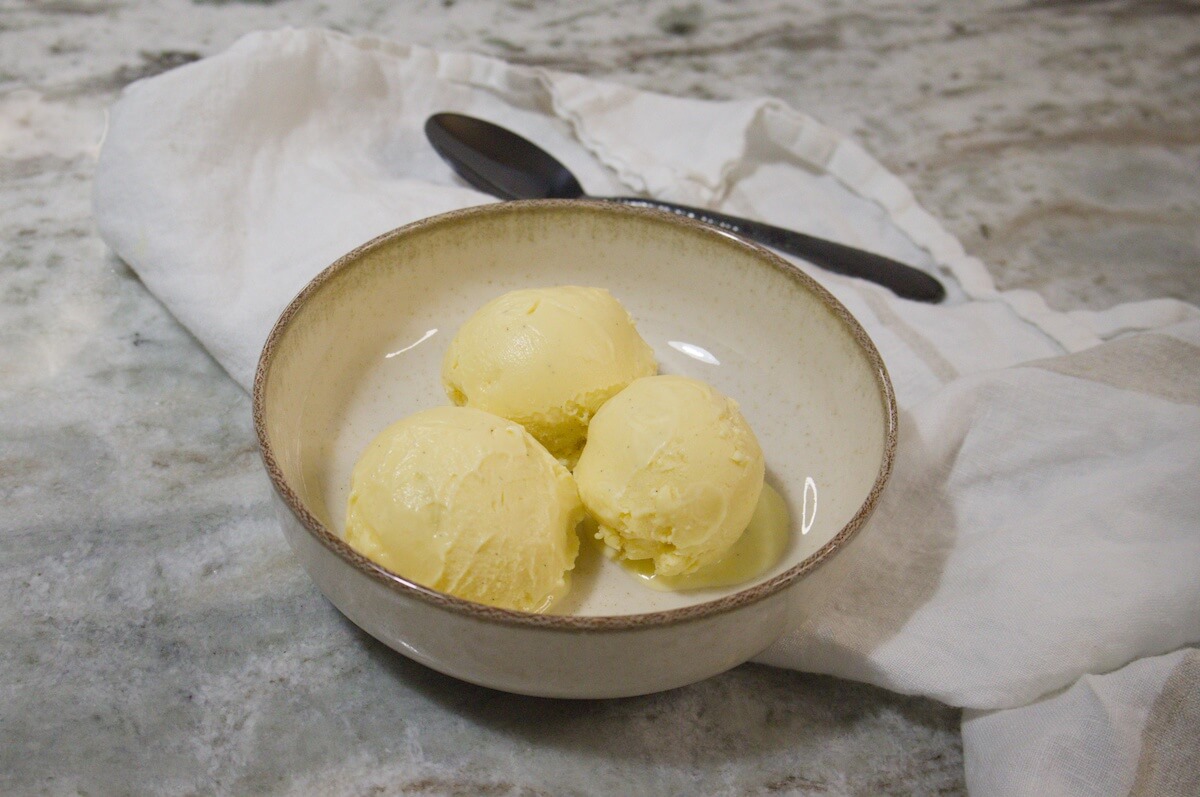
Vanilla Ice Cream
About Me
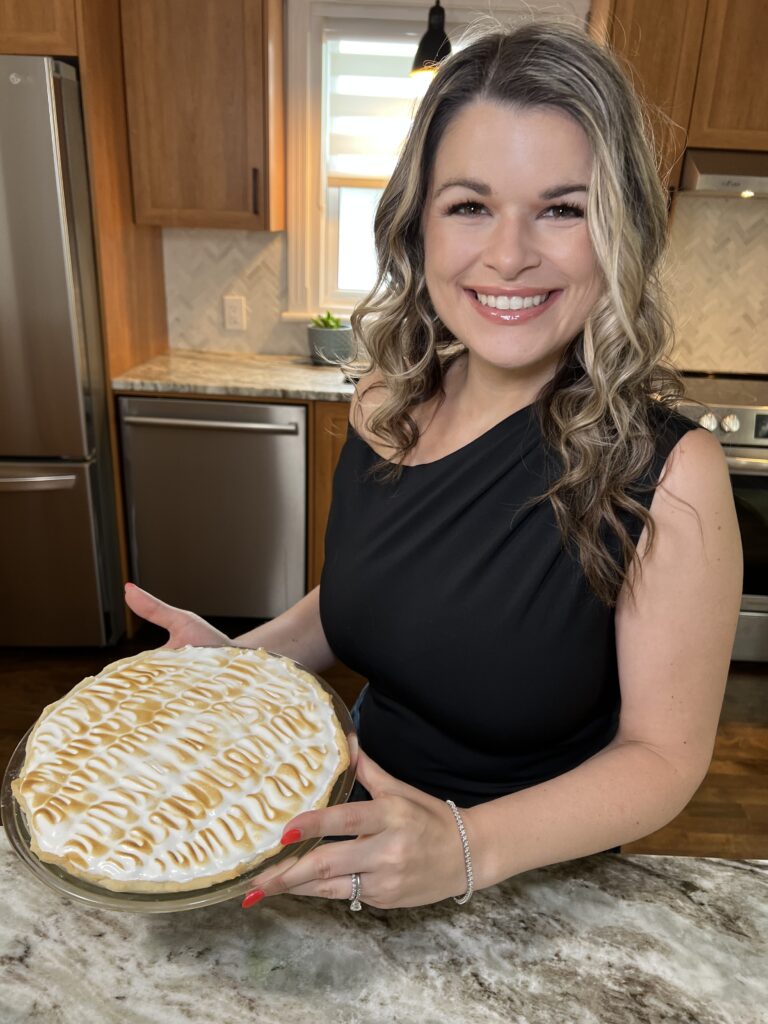
Ariane, a Hint of Basil & Maple Syrup
Welcome to my kitchen — where Québec sweetness meets global flavors.
My name is Ariane, and for over 15 years, I’ve been cooking with love, curiosity, and a touch of creative spark. Maple syrup reflects my warmth and Québec roots. Basil captures my love for Italian cuisine — and my lively edge, too.
Leave a Reply